3 Secrets To Beautiful Backlit Photos
Backlit photos are often seen as challenging, but they can turn a regular picture into something striking. Many photographers struggle with getting the lighting right and ensuring the subject stands out against the bright background. It’s easy to either overexpose the image or lose all details in the shadows. However, with the right techniques, you can master backlighting and create beautiful, glowing images.
In this post, we’ll share 3 secrets to beautiful backlit photos. By understanding how to position your subject, adjust your camera settings, and play with silhouettes, you can achieve stunning results every time. These tips will help you transform your photos into works of art, no matter your skill level.
Secret to Beautiful Backlit Photos
A secret to beautiful backlit photos refers to the techniques and approaches used to capture images where the light source is behind the subject, creating a glowing effect. This lighting style can highlight edges and create striking contrasts between the subject and the background.
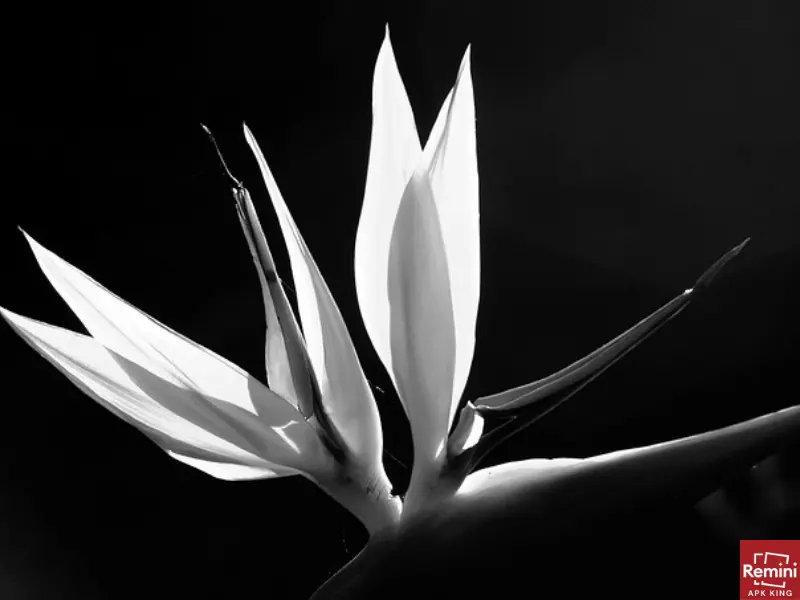
Backlit photography can be tricky because the light from behind can overwhelm the subject. The secret is to position the subject in the right way, adjust camera settings carefully, and use creative effects like silhouettes. With these techniques, you can capture images that stand out and have a special, almost magical glow.

Mastering the art of backlit photography allows you to take advantage of natural light, whether it’s sunlight or artificial light sources. These tips will help you avoid common mistakes and bring out the best in backlit shots.
Position Your Subject Right
Experimenting with different positions will help you find the best look for your photo. Positioning your subject correctly in backlit photography means placing them in a way that the light source is behind them. This helps create a glowing effect around the subject, making them stand out against the light. The placement of the subject affects how the light interacts with them, creating different looks.
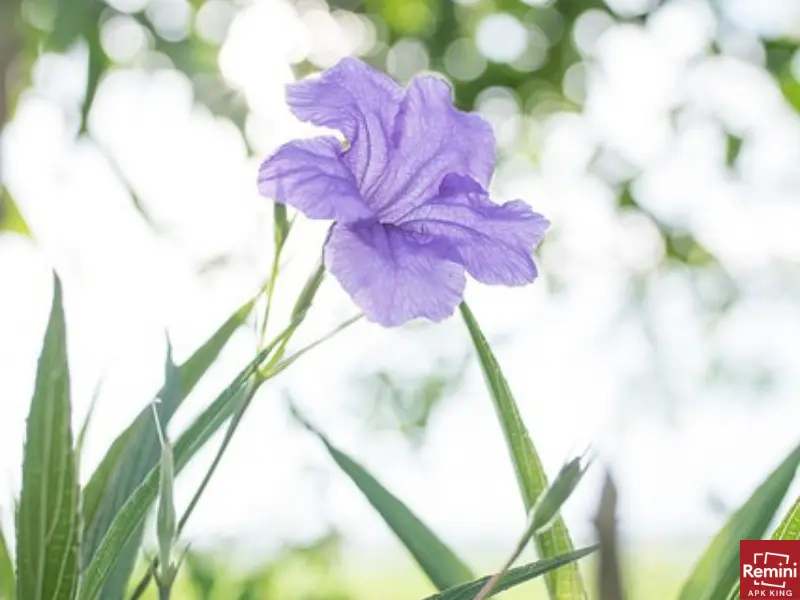
When positioning your subject, avoid placing them directly in front of the light. Instead, angle them slightly to one side, allowing the light to wrap around them. This can produce a soft, glowing halo around the edges, which is the signature look of backlit photography.

By adjusting the angle and distance of your subject from the light, you can control the intensity and shape of the glow. Ex
Adjust Your Camera Settings
When taking backlit photos, adjusting your camera settings is key to getting the right exposure. Backlighting can trick your camera’s automatic settings, often making the subject too dark or too bright. By manually adjusting your settings, you can balance the light and make your subject stand out clearly.
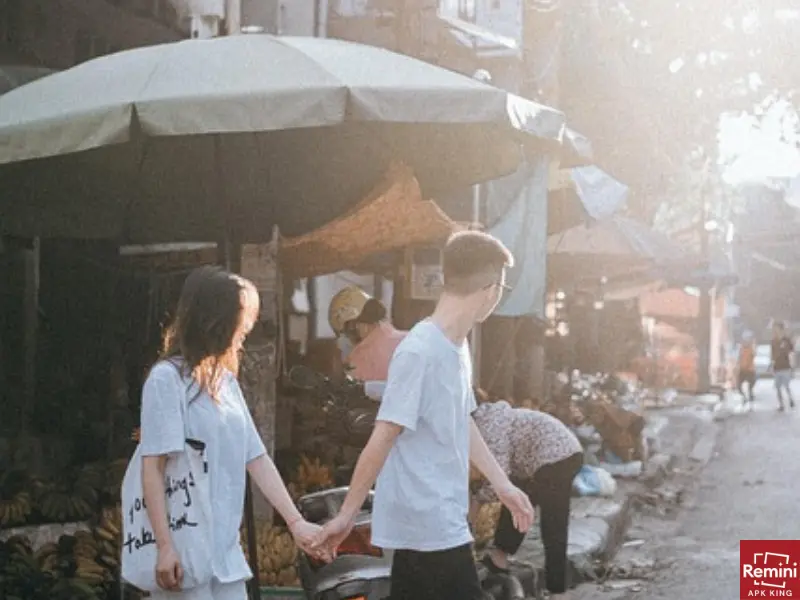
To fix exposure issues, use your camera’s exposure compensation feature to lower or raise the exposure slightly. This will help you avoid overexposing the bright light source behind your subject. If you’re shooting in manual mode, adjusting your aperture and shutter speed can also help control how much light enters the camera.

These small adjustments are essential for perfecting backlit photos. They let you capture the glowing effect from the light while keeping details in the subject visible. Adjusting your settings correctly will make sure your photos look exactly the way you want them to.
Play with Silhouettes
Playing with silhouettes in photography involves capturing a subject as a dark shape against a bright background. The subject appears as a solid black outline, with no visible detail inside, making the focus on its shape and form rather than its features. This effect is often used in backlit photos, where the light source is positioned behind the subject.
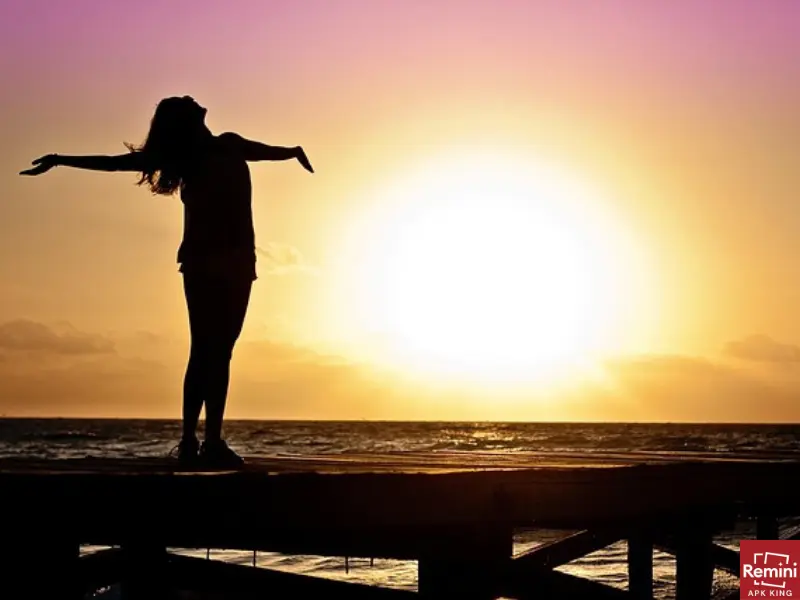
To create a silhouette, you must underexpose the image, allowing the subject to stay dark while the background becomes bright. This simple technique can add a dramatic, artistic feel to your backlit photos. It’s especially effective for subjects with strong outlines, like trees, people, or buildings.
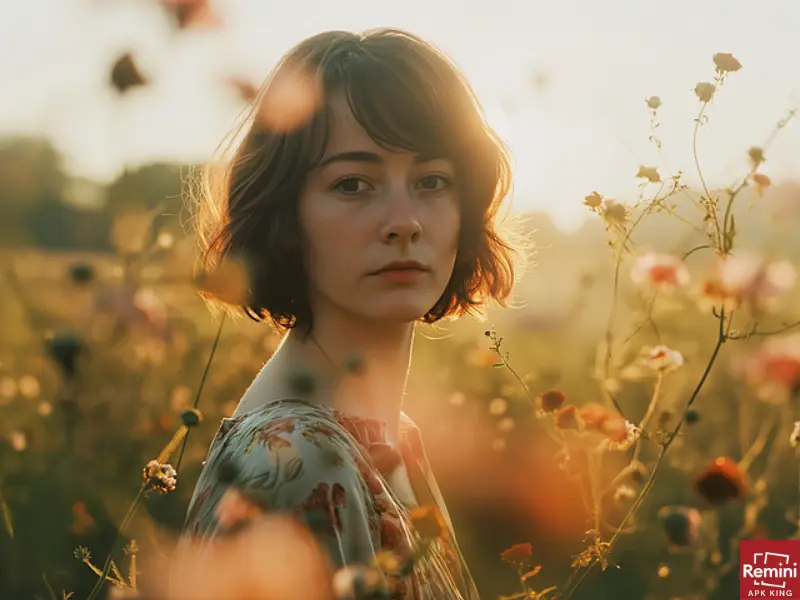
Using silhouettes can also help emphasize the contrast between light and dark, making your photos stand out. By experimenting with different shapes and lighting angles, you can create striking images that capture attention. Playing with silhouettes is a powerful way to enhance the beauty of your backlit photos.

Enhance Your Backlit Photos with Remini Mod APK
If you’re looking to make your backlit photos even more striking, you might want to explore Remini Mod APK. This app is designed to enhance the quality of your photos, even those taken in tricky lighting conditions like backlighting. With powerful tools to adjust details, enhance sharpness, and reduce noise, you can bring out the hidden beauty in your photos.

After mastering the basic techniques of backlit photography, using Remini Mod APK can take your images to the next level. Whether you need to brighten dark areas or refine the glowing edges, this tool can help you enhance every aspect of your photo. It’s a great way to add extra polish to your backlit shots, ensuring they truly shine.
Conclusion
So guys, in this article, we’ve covered 3 Secrets To Beautiful Backlit Photos in detail. Backlighting can completely transform your photos when done right. My personal recommendation is to experiment with different angles and lighting positions to find what works best for your subject. Don’t be afraid to play with silhouettes and adjust your camera settings to get the perfect shot. I encourage you to head out and try these tips in your next photo session – you’ll be amazed at how much better your backlit shots can look!

